|
|
Post by 77oneton on Jan 1, 2008 22:26:34 GMT -5
The doubler i chose, was an Offroad Design GenII GM203/Ford205 Hybrid, because i will be running a 1978 Ford high pinion Dana 60. I choose ORD because it is one piece. It's machined from billet aluminum.
You can choose ford or chevy 203, the direction of clocking of 203. Then you choose which 205 you will be running Ford/GM/Dodge, and the clocking you want on the 205.
|
|
|
|
Post by 77oneton on Jan 1, 2008 22:37:14 GMT -5
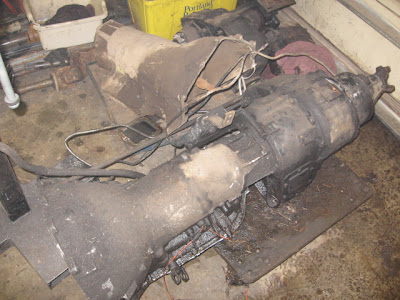 I started by aquiring one th400 transmission and adapter for 203, and a 32spline 203 range box from Nick(Leadfoot). Then i came across another complete th400/203 combo for a great deal! 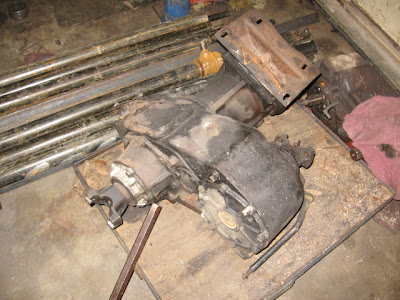 Next i bought a ford205 from Jason(Poorboy). 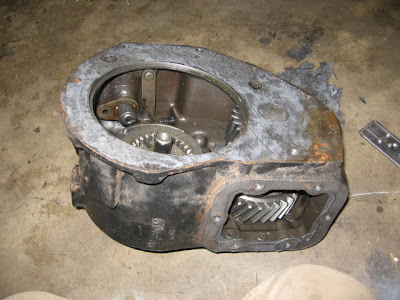 Here is the range box i got in the deal from Nick, it was @ Jason's disassembled. He was so nice to put the input gear in it before he gave it to me. Thanks Jason ;D 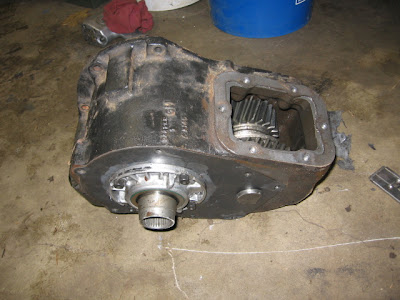 |
|
|
|
Post by 77oneton on Jan 1, 2008 22:43:20 GMT -5
Since the range box was already removed, and this is a how to, i thought i would disassemble a gm203. 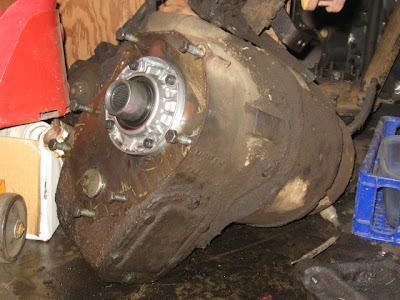 First remove the PT cover and drain the fluids 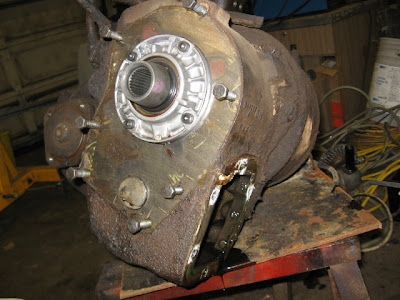 Next remove the bolts holding the range box to the rest of the case.  There will be 6 bolts on one side, and two on the other. 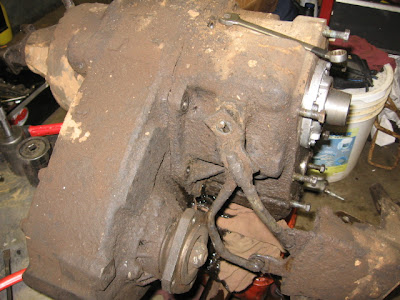 |
|
|
|
Post by 77oneton on Jan 1, 2008 22:51:22 GMT -5
Next remove the shift linkage from the case. The second little linkage arm as shown in picture, needs to be saved after removal. Poorboy brought this to my attention, since it is not mentioned anywhere. The first arm is held on by one nut, the second is by a snap ring. 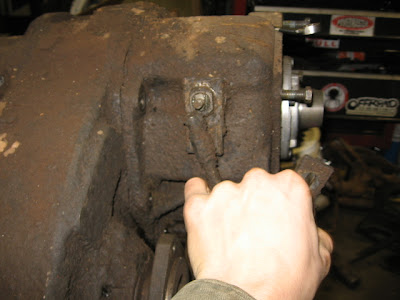 Now that the bolts have been removed, the case will split easily, but will not separate. There is a little pin that connects the shifting between cases. It is not needed, so a cutting wheel was used to cut it. It was just faster. 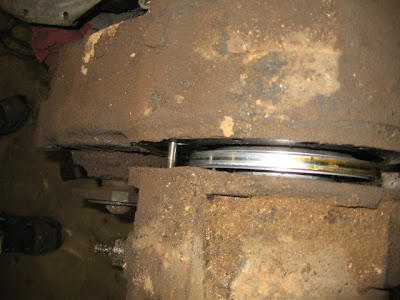 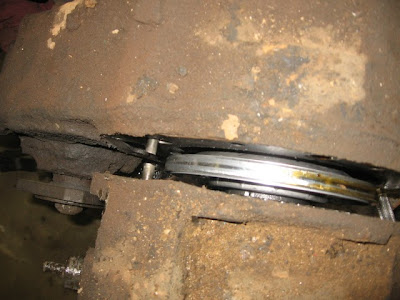 |
|
|
|
Post by 77oneton on Jan 1, 2008 22:56:12 GMT -5
This is the inside after the range box is gone. You will need to remove the big gear, along with a bearing and snap rings. 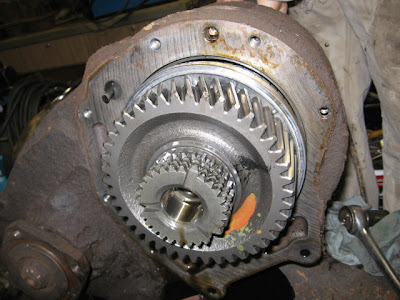 Inside the end of the hollow shaft from the picture above, are 15 needle bearings, you will need these later. (I know there are only 14 shown, but you will need 15) 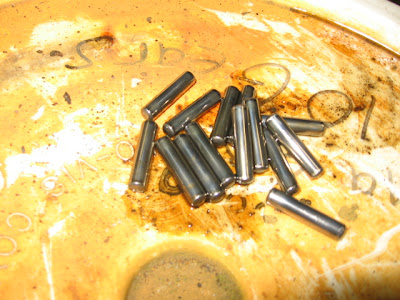 |
|
|
|
Post by 77oneton on Jan 1, 2008 23:00:16 GMT -5
Now the instructions showed the back of the 203 removed, so we pulled it, and the intermediateshaft and gears slid right out. 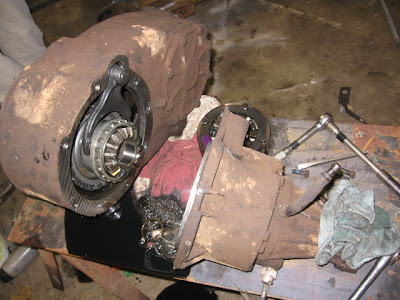 front side 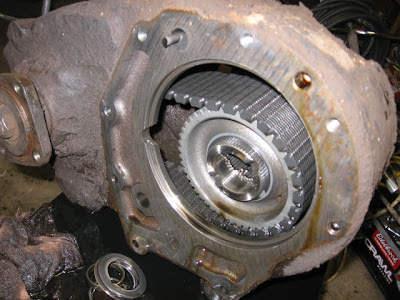 Here is the shaft and gears removed. 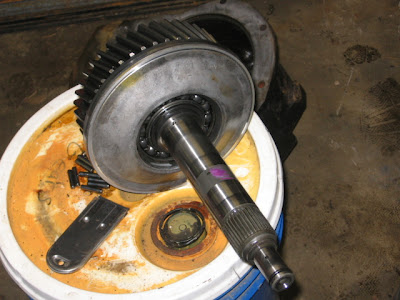 |
|
|
|
Post by 77oneton on Jan 1, 2008 23:08:39 GMT -5
Next, and this is the hardest part, you remove a large snapring that holds the aluminum piece over the bearing and gear. You don't need this piece, only the ring. There is another smaller snap ring holding the bearing on the shaft, once this is removed keep the bearing and the ring. Now this is important but not shown well, there is a metal ring(sitting on the bearing in the pic) that slides off from over the groove that is at the bottom of the shaft near the gear. Inside that groove is a pin, you need this and the metal ring. This holds the gear on the shaft. Now remove the gear. 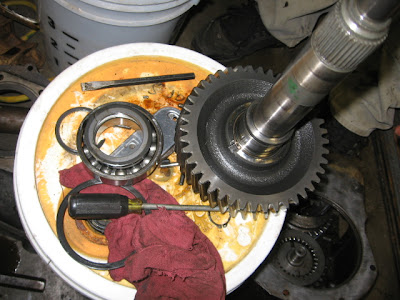 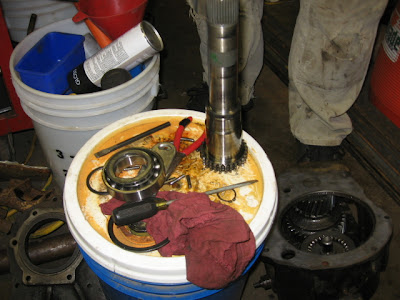 |
|
|
|
Post by 77oneton on Jan 1, 2008 23:15:09 GMT -5
Place the large gear on the new intermediate shaft in the same manner it was pulled off. Place the little pin in the hole at the bottom of the shaft and then slide the metal ring over it to hold it in place. (You can see the ring if you look closely) 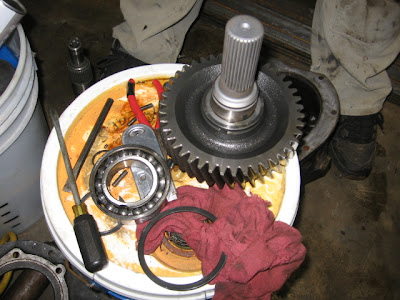 |
|
|
|
Post by 77oneton on Jan 1, 2008 23:18:59 GMT -5
Next place the bearing in the new adapter, and press/pound it in carefully (well not carefully, but you know what i mean). 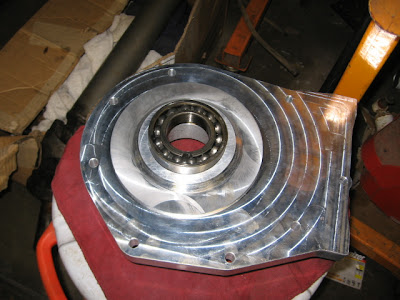 Apply the large snap ring to hold the bearing in place. 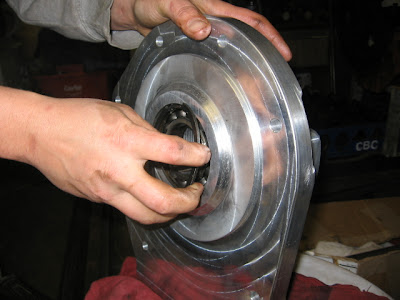 |
|
|
|
Post by 77oneton on Jan 1, 2008 23:28:46 GMT -5
Now slide the shaft into the bearing, with the gear on the 203 range box side, and the output on the side of the 205. There will be a slot for the small snap ring now to hold this gear assembly to the adapter, it will be on the output side. Make sure the shaft is pounded all the way snug into the bearing, with the little pin and ring still in place holding the gear in place.  You see the hole in the end of the intermediate shaft? This is where you will be placing the 15 needle bearings from earlier. 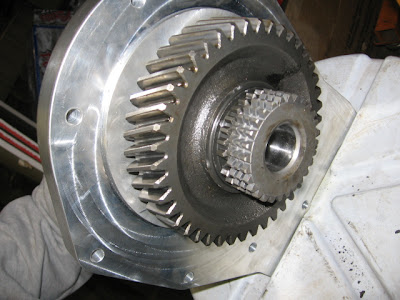 |
|
|
|
Post by 77oneton on Jan 1, 2008 23:34:30 GMT -5
I thought i had a pic, but i guess not. Use plenty of grease, and then one by one fit the 15 needle bearings into the end of the shaft until it is full. Make sure these are all in place. If you look in the range box here, you see the little shaft that that they will seat themselves around when you mate the two. |
|
|
|
Post by 77oneton on Jan 1, 2008 23:36:25 GMT -5
There is a breather fitting, and at any time you can screw it into the top of the adapter 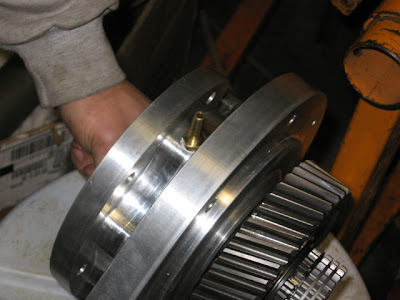 |
|
|
|
Post by 77oneton on Jan 1, 2008 23:40:40 GMT -5
Get out the RTV silicon, and the 203 gasket that came with your kit, and make sure to spread a healthy amount on both sides, however you choose to do this. Now just carefully mate the 203 range box over the adapter, lining up the bolt holes, and making sure the needle bearings properly fit into place. 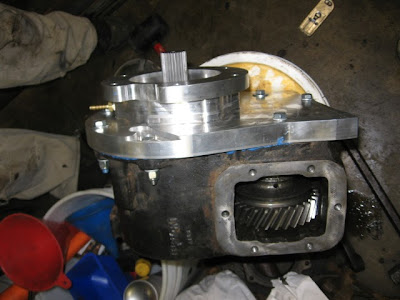 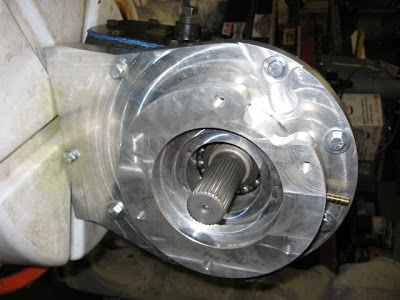 |
|
|
|
Post by 77oneton on Jan 1, 2008 23:43:41 GMT -5
Tighten the bolts and your 203 range box is on. 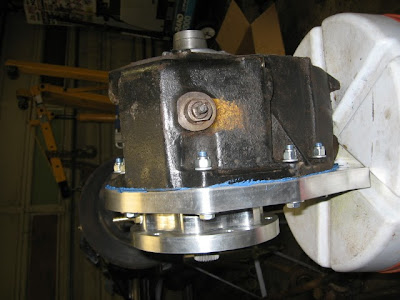 Apply RTV silicon to the case at PTO and to the gasket, and bolt the PTO cover to the case. 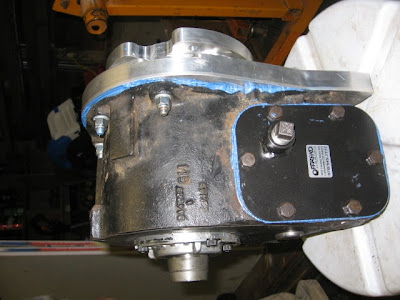 |
|